3
\$\begingroup\$

I am trying to connect a USB harddrive to a sata cable by attaching the sata cable to the drive circuit board and only using the usb to power the drive. This is for data recovery.

For reference I am trying to follow this page: How to connect and data recover from a WD HD

Since I do not have a spare harddrive to use a sata connector/interface from; I decided I would try connecting a sata cable directly to the circuit board.

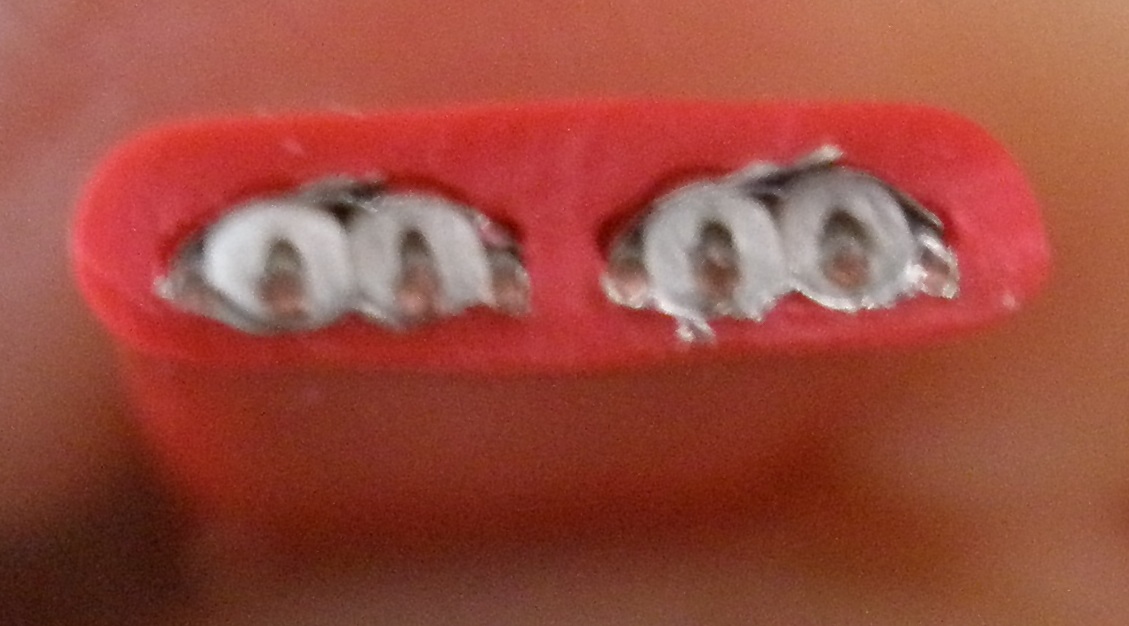
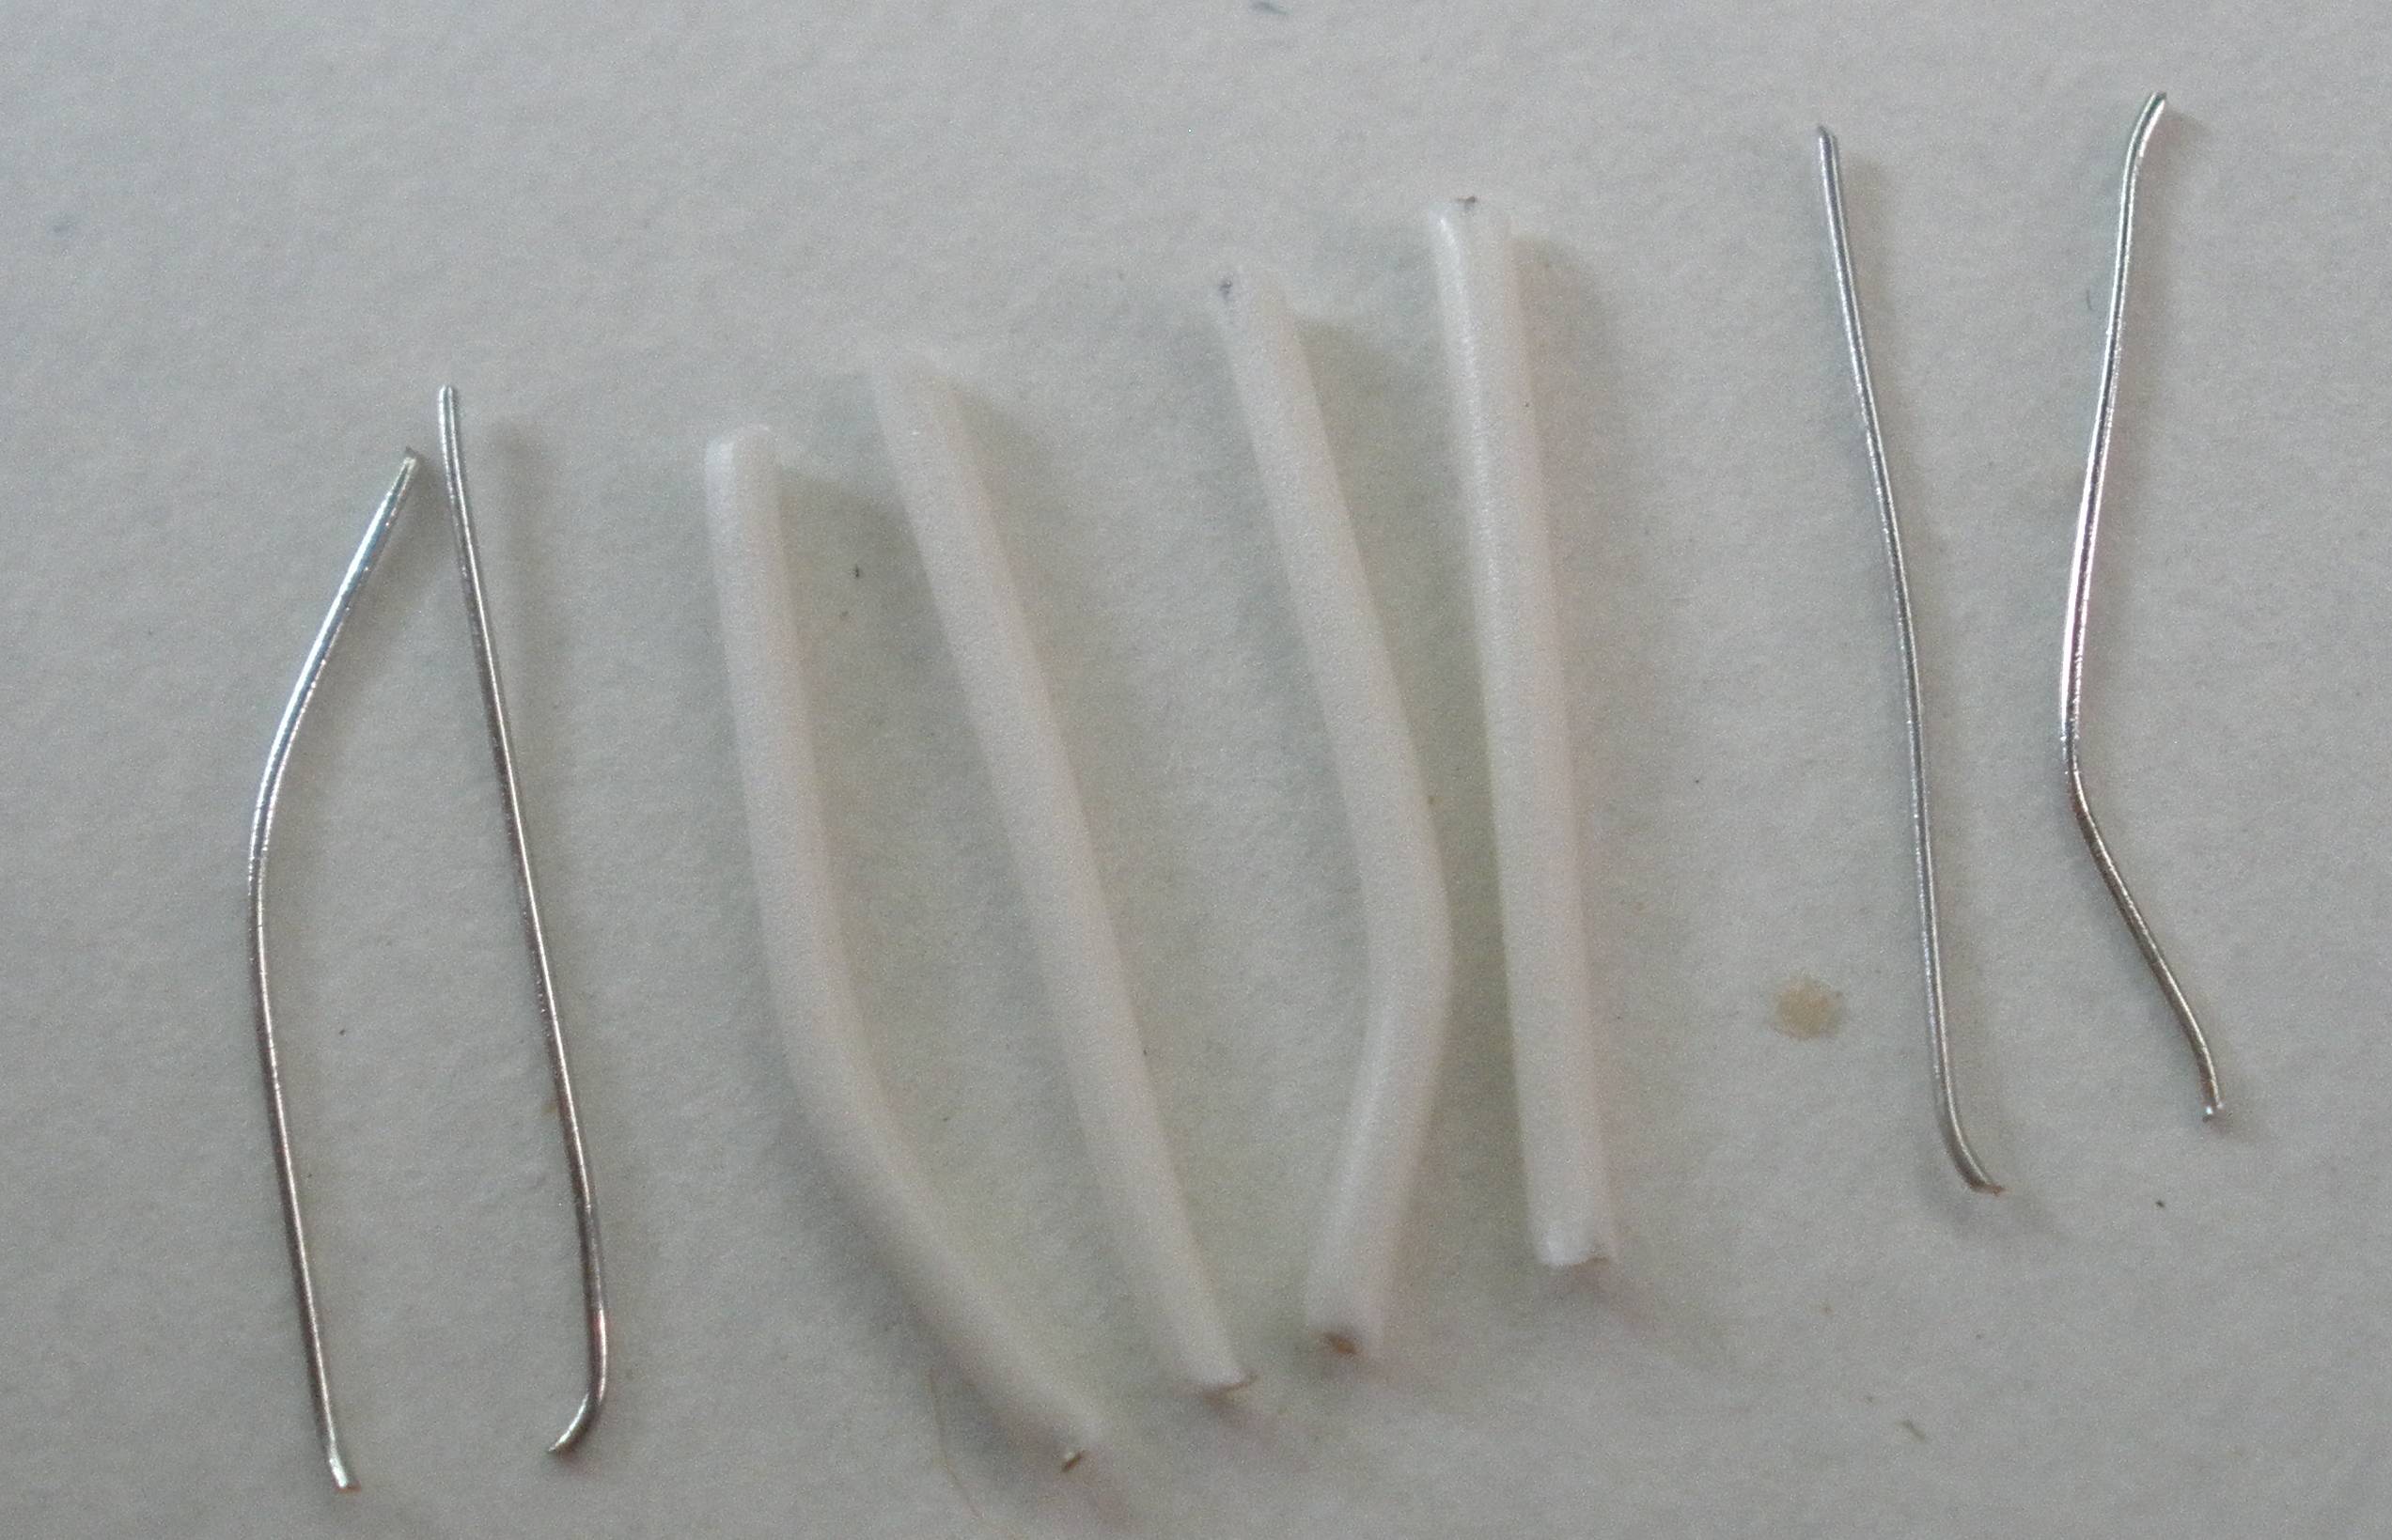
I have sliced open a sata cable (images below) and there appears to be 4 insulated wires and 4 exposed wires. However, the sata interface only has 7 wires where 3 are grounded.

So my first question is, which are the ground wires? (im assuming the non-insulated wires).

My second question is do i pick any 3 of the 4 ground wires to connect?

enter image description here enter image description here

\$\endgroup\$
3
  • \$\begingroup\$ @Valamas-Can you provide the clear pictures which you mentioned in your question \$\endgroup\$ Commented Nov 23, 2011 at 5:52
  • \$\begingroup\$ Measure continuity between the contacts at the connector to the wires at the end of the cable. \$\endgroup\$
    – starblue
    Commented Nov 23, 2011 at 7:20
  • \$\begingroup\$ Without matching the differential pairs and checking the signal quality with an oscilloscope (with a diff probe that can run fast enough for sata), this project has an extremely low probability of success. \$\endgroup\$
    – Voltage Spike
    Commented May 26, 2020 at 18:04

1 Answer 1

5
\$\begingroup\$

URGENT

Would somebody please check my pin and colour interpretations

The guide cited by Valamas is very very very bad.
It LOOKS clear but then fails to explain severe things and makes others inobvious or almost seems to do things badly on purpose. (Probably not but ... .

Note that the pictures in the two views are rotated at 90 degrees to each other !!!


Valamas - you will HAVE to be sure which wire in your data cable corresponds to which pin in the connector.

It's either 2 3 5 6 / A+ A- B- B+ IF the wire is lying as you would view it with the drive flat on the desk. PCB up and looking out from the PCB from behind the connector into the cable.

OR - If the cable has been turned over the order is reversed.
These are the two choices:
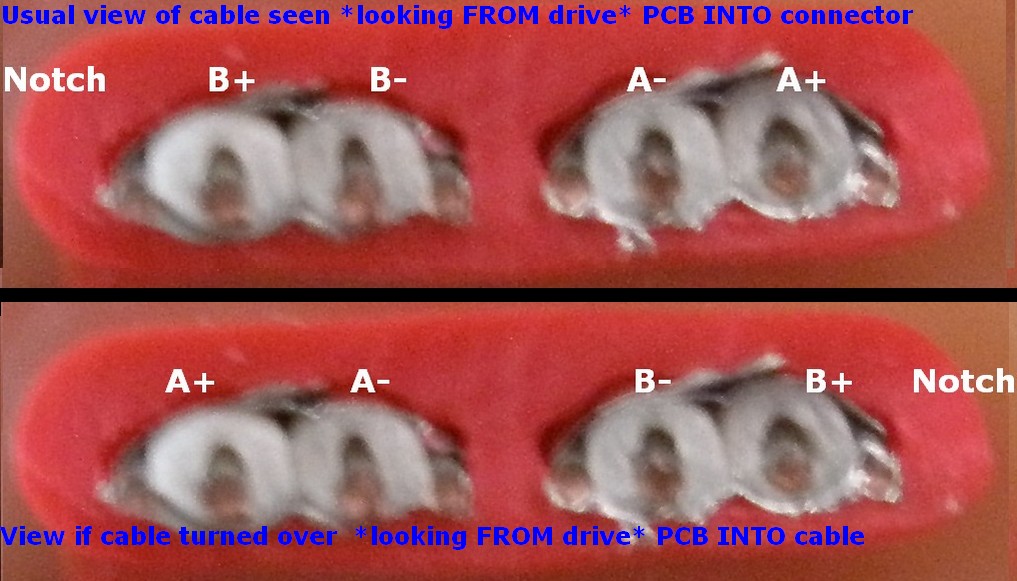
enter image description here

NB - I briefly had top picture at bottom and bottom picture at top with no text in picture. This is how I think it goes ... .

If all of this does not make sense then you probably need some onsite assistance.

First - have a look at The Wikipedia SATA page.

Then, probably ... :

Connect all 4 (uninsulated) ground leads to the drive.

You are very likely going to have to get the wire order correct for the data lines. The page you cited provides dangerously inadequate information about which data wire goes to what PCB point.

SO

SATA pin numbering

Pin # Function

1    Ground  
2   A+ (transmit)  
3   A− (transmit)  
4   Ground  
5   B− (receive)  
6   B+ (receive)  
7   Ground  
—   Coding notch  

As viewed this connector numbers left to right notch 7 6 5 4 3 2 1

Left to right:

Notch, Gnd, B+, B-, Gnd, A-, A+, Gnd
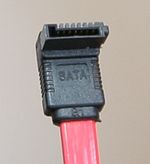
enter image description here

 E71 - Red    - SATA pin 2 - A+  
 E72 - Blue   - SATA pin 3 - A-  
 E73 - Yellow - SATA pin 5 - B-   
 E74 - Green  - SATA pin 6 - B+  

E&OE
YMMV
Don't try this at home (till you know it's correct).

Do not spindle, fold, bend, staple, mutilate, spike, save in an information retrieval system, inhale, ingest, imbibe, inject, incarcerate, defenestrate, exacerbate, exhume, conflagrate, use as a critical or other component in a life support or mission critical or non-redundant or real-time or embedded system or other, have a nice day.
\$\endgroup\$
6
  • \$\begingroup\$ wow - such awesome information. thank you so much! \$\endgroup\$
    – Valamas
    Commented Nov 23, 2011 at 5:14
  • 1
    \$\begingroup\$ @Valamas - please be SURE to check what I have said. It's all a matter of looking carfully at various information sources. I may have written something wrong or misunderstood how awire was connected. Look at all the picture and the Wijipedia site and be sure that what I say makes sense. \$\endgroup\$
    – Russell McMahon
    Commented Nov 23, 2011 at 5:46
  • \$\begingroup\$ @Valamas - directly, almost, certainly copied from wikipedia. Using a multimeter you could answer this your self.by testing PIN1-and checking for continuity on the cable.PIn2..PINx \$\endgroup\$
    – Piotr Kula
    Commented Nov 23, 2011 at 9:03
  • 1
    \$\begingroup\$ @ppumkin - No, alas - the part that crucially needs checking is the wiring connections from new connector (or cable) to points on PCB. The fact that the linear mapping on the connector (A+ A- B- B+) matches the linear mapping of E71 E72 E73 E74 PROBABLY means I got it right, but it's too easy to stare at what someone has done, like, this, and then get the wiring wrong. \$\endgroup\$
    – Russell McMahon
    Commented Nov 23, 2011 at 13:59
  • \$\begingroup\$ I'm interessed too with this hack, and I have seen this, which confirm Russell McMahon's answer is good :) \$\endgroup\$
    – Guillaume
    Commented Jan 29, 2015 at 9:26

Not the answer you're looking for? Browse other questions tagged or ask your own question.